

Introduction to Impress
IMPRESS is a program designed to create professional looking presentations and lectures. It is a program included in the standard version of the OpenOffice.org suite. Impress is a presentation consisting of one or more pages, also called slide. Each page condition saw with the other basic page layout. The transition from page to page can be manual or automatic, with or without transition effects. Once created, the presentation will be shown on screen, using the video output computer, printed on paper, distributed in electronic format (PDF or native format OpenOffice.org, with suffix. Sxi) or published on the Internet (HTML or MacroMedia Flash).
Like other programs of the package, Impress provides many tools to facilitate the work:
For example, the opening of the program, a window allows you to choose how to creating a new presentation, in a more or less driven.
Creating a new presentation
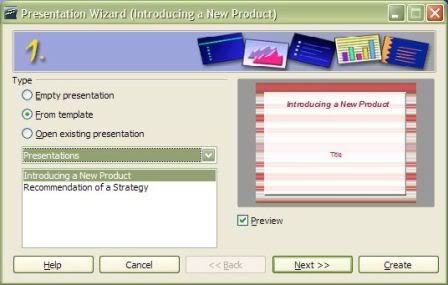
Once called OpenOffice.org, select File -> New -> Presentation. Appears following window, the first automatic pilot.
The options are as follows:
• The Blank Presentation allows you to create a presentation from scratch, without obtain-
King no help.
• The model provides a framework, complete with background, character to create pages hormone, but not given any indication of the content.
• Open an existing presentation.
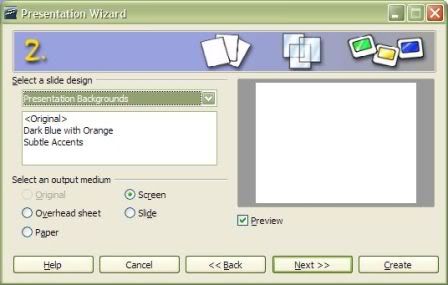
Select Blank Presentation and click "Next". Compare the second window of the pilot:
In this window we can specify the background base applies to all pages and destination leading to our presentation:
Original: If you chose to create a presentation from a template, using the destination specified in the model.
Transparency-presentation designed to be printed on transparencies to be projected Paper presentation designed to be printed.
Screen: presentation intended for display on the screen. Depending on the characteristics of the screen, the presentation will be adjusted appropriately.
Slide: slide presentation intended to achieve.
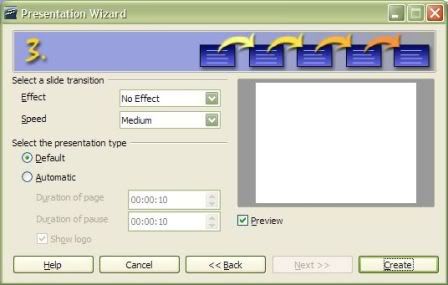
The "Next" button allows you to move to the third page of the pilot:
In this page you can select some transition effects between pages, and its speed. It is also possible to indicate that the presentation must be displayed so that switching from one page to another occurs automatically with the times indicated. Useful for non-assisted presentations (exhibitions, shop windows). Depending on the options selected in the three pages of the autopilot, additional pages may be shown. These pages allow you to insert, in a guided manner, some content base so as to be operated by the program in the writing of the pages. For our course, we finish the process of creating a new pilot presentation to page three, confirming our choices with the "Create" button. It then goes to the building stage of the individual pages.
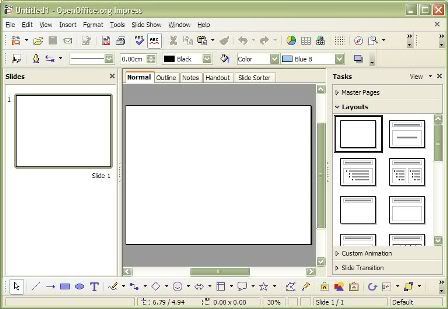
The automatic layout
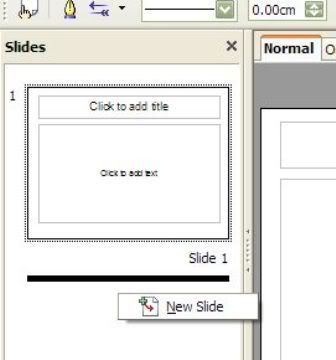
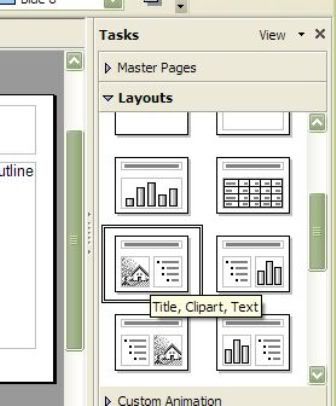
Just choose to create a blank page, we are asked to choose which layout automatic gives it, give it a structure that is (there will be an image, text and image, a graph). We will have to specify a layout for each page insert. To choose the layouts just click on his model in the window shown in the figure (the window opens automatically when it asks you to insert a new page) and press the OK button. Now, as it the first page of the presentation, we will choose the layout title (the second from it LEFT at the top).
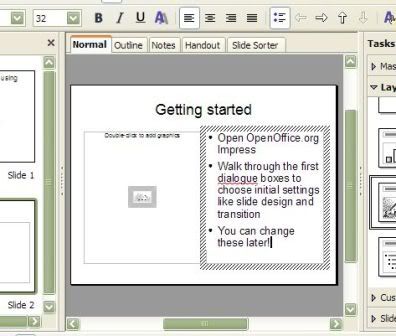
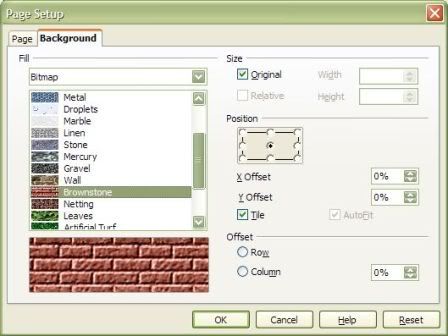
It looks like this with a blank page zones have been defined to include a title and a sub title. Before continuing with the creation of our presentation is appropriate to establish the character standing features of our site such as the size and orientation. Keep in fact that, instead of the standard definition of the pages (from the model used or default of the program) you can always modify the main parameters them level of a single page. From the "Format" choose the "page". The dialog "Set-pages" from which we can select the size, margins and page orientation Current.
The page background
For each new Impress presentation creates a so called background page or main page. This is not a real page, but a grid on which to make changes (Choice of fonts, images of all pages) that will be transmitted to all pages of the presentation. While the automatic layout refers to a single page, the background page controls the appearance of all pages of the presentation.
Working on the page background it is easy to maintain uniformity in the presentation it, making the work look more professional and more readable. Of course it is always possible to modify only a single page. To change the page background you must choose from the menu "View - Background - Drawing." To example we can change the style of the title and cause it to appear underlined. Changes to the page background can be made at any time and not even on the pages already created. To return to the pages of the presentation from the "View" menu choose the item "page".

 Reply With Quote

Bookmarks