

With the following article would like to show everyone how to install 7-zip in Windows. A simple Windows tool to compress/decompress files. The points in favor of 7-zip is that, this program is free; it supports many compression formats. To download the program I recommend you to download it from the official website, where you will find the latest version.
1. Installation
During installation, you ask what you desire to install the program mask (What folder do you want to install to?) By default it gets installed in 'C: programa7-Zip Files', if you desire to change the directory, just click on Browse and it will open a new window where you would be able to specify the folder where you want to install this software. (Remember to add at the end 7-zip after selecting the folder). Click on OK, and if the folder does not exist, it will ask for confirmation to create it.
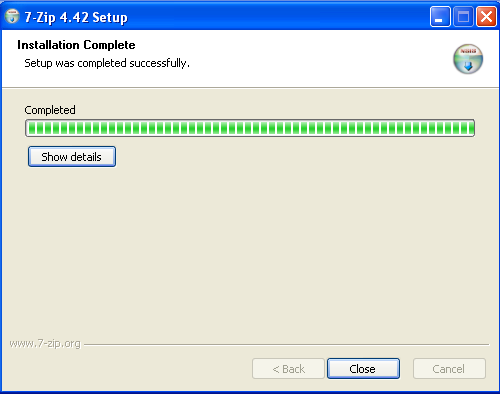
Once you accept it will install the application, after installation it will show the following message: 7-zip has been installed successfully. You accept again and you have already installed 7-zip on your computer.
2. Configuration
The first thing we do is configure the program. To run it, we can access it via the start menu, because during the installation is created in the folder menu 7-zip.
Inside this folder you will find direct access '7-Zip File Manager '. Now clicking on it, it will open the program. Another option is to search the directory of files in the folder you installed it and click on your executable: zFM.exe '7 '.
The first step is to select the language. To do this select the menu, 'Tools -> Options'. So the options window appears in which you can see five tabs. The tab that interests us now and that is you must press 'Save' in the language that you may gain select. In our case select 'English' but you can also find other languages such as Spanish, Catalan, French, German, etc.
The second step will involve the compression formats 7-zip, so when we click twice on a *. Zip or any other format that you associate with, what use windows default. To do this, you must once again select the Menu option Tools -> Options ', but if we are selected as the language, English is now called' Tools -> Options.
We will return to the options window. The tab that interests us now is before us in the first instance, the tab 'System'. It shows all the compression formats it supports, and gives us to choose which ones we want to be associated with 7zip. We recommend that you should select all of them. Once selected, just click on OK.
3. Unzip Files with 7-zip compressed files extraction with 7-zip is quite simple. For example, from Windows Explorer, right-click selects the file you want to decompress. In the context menu that appears, we see that when you install 7zip it has included an option '7 zip ', where we select and display a submenu.
To unzip the file choose the option 'Extract files '. Once done, it will open a new window. By default, the directory chosen to extract the files is the same as that found in the archive plus a folder with the same file name. For example, if the file is located in 'c: docs tutorial.zip' the default directory where you extracted the files will be: 'c: docs tutorial'.
We also have the option to select the directory you want by clicking on the button with three dots as text. After selecting the directory, click on OK and the file is decompressed.


 Reply With Quote
Bookmarks