

In this great walkthrough of Two Worlds 2, you will find all tips and tricks related to each Chapter that will help you to pass the comprehensive quest. So you should have no problem to finish the RPG. Below you will learn how to best escape from prison. The first part of Two Worlds saga ended up as a prisoner in the dungeons of the power-hungry Gandohar. Her sister serves as a cage for an evil deity. Some years later, the story of Two Worlds 2 begins with the escape from captivity.
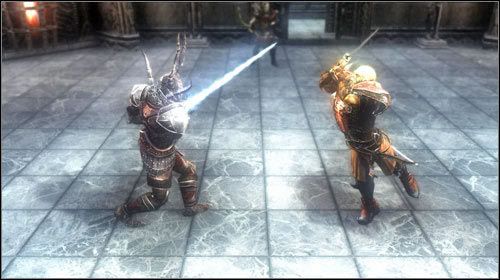
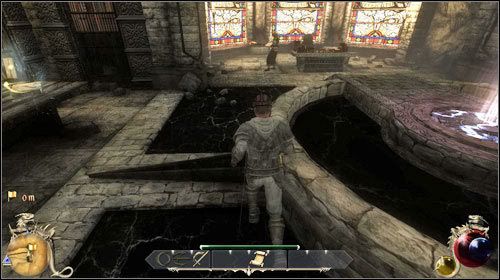
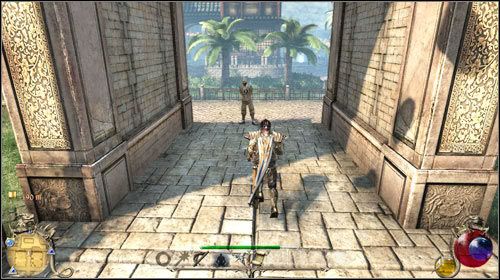
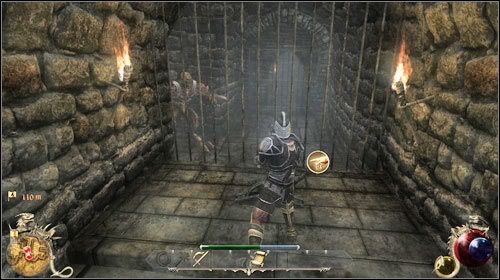
Follow your savior, but have a look around. In small blind alleys you find one or the other box. Collect program whatever you can bear - you'll need later. After the cutscene with the orcs, you loot the corpses and Dar Pha follow up the steps. Soon you end up in a small library, the road ahead is blocked. In a conversation with your savior, you will learn that there is a switch. Walk up the stairs and turn right. In an alcove on the left side is the switch. Go back down and sneak you across the bridge. After the cutscene you are in a small hall. On one of the platforms on the right you will find a little Easter egg in the form of a book: the architects of Antaloor. It contains the credits of the game. Follow the stairs down the Ork lady and enjoy the battle between her and Sordahon. After this cutscene you'll find yourself in the throne room again.
Another way:
Do not run back into the room where the fight took place in the video. Although it is possible to pass through the door on time, but it closes behind you and you no longer comes out. Instead, run behind Dar phase and ignore the guards, who are after you. Suddenly, a door closes and you have to crack a lock. In the end you reach a chamber in the Dar Pha prepared a teleport. Grab the stick, lying around next to Dar Pha, and also collect anything, what you find in the room. Then go to the entrance and killed the guard, who turns up there.
Arrival in Alsorna:
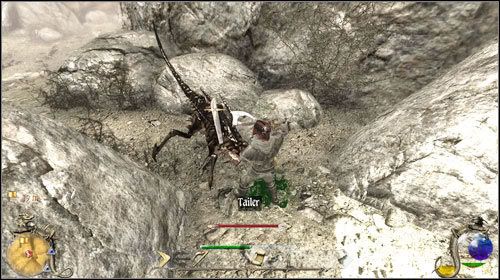
Darpha falls into a trap and you go running to get help. Do not ask yourself why you may release Female Orc yourself, but follow the path. Along the way you meet some careless Groms. This opens up two possibilities to cope with the opponents: Dar Pha advises you to assassinate the Groms, so you sneak up and hit the space key when the icon appears. The second option is less elegant: Grab your stick and take care of the Groms. If you are caught sneaking, you have no choice but to use the brutal method. At the end of the road you'll eventually find the teleport that takes you to the rest of the group. Provide now for a distraction so the others will be able to save the Female Orc.
The savior saves:
Follow the Orc warrior Rogdor to the path to the right of the teleport. After a short conversation, you draw your weapon and fight in the course of the tutorial along the path. As long as you have not taken your gun, you will be back again and again to Rogdor. Beat yourself with the Groms and walk over the log. If your inventory is too full to plunder the enemy: Stay Do not worry, the bodies are and you have enough time later to explore the island. At the end of the trail you leave the tree and the rock roll down and go back to the Groms. On the way back to you Nortar still shows the archery. The second wave of enemies you have to switch to the multi-arrow. Then go back to the camp. Dar phase was freed and run together with her over the bridge, as the prophetess Bonuses.

Over the bridge:
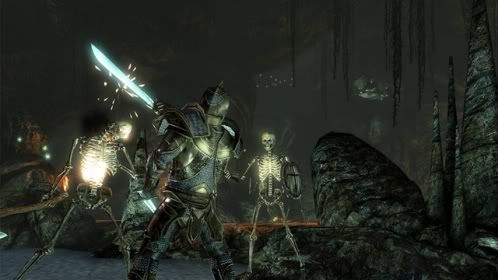
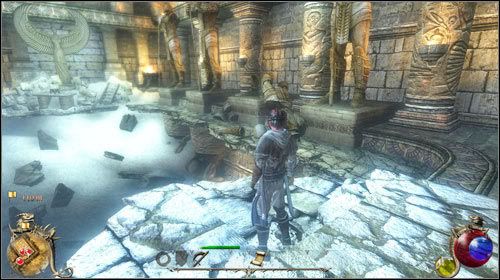
The bridge was destroyed, and although the magician Ghortarius adopts all the effort, he manages to repair the bridge. Some Necris disturb him, so he brings you into a tomb. On that occasion Ghortarius shows how to use magic. As soon as you have turned off the first couple of skeletons, you go into a room where a big monster stands in the middle of a pentagram. This is immune to your fire spell, but on the left side is a skill book. Once you have collected and read it appears in the same place the necessary water magic card. Change your spells accordingly, you kill the beast and leave the vault with the teleport behind the monster. Now Ghortarius repaired the bridge and it's finally on to the base of the Orcs.
In the fortress island:
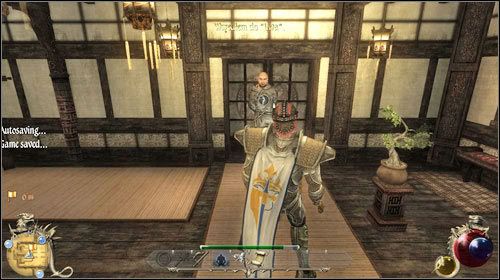
Talk to the prophetess and collect the equipment from a table. Have you around then Dar Pha. You get allocated a space in which there is a box. Here are some helpful articles and the box serves as storage space for unused equipment. Next, go to the basement to the blacksmith. The path is located directly right of the grand staircase in the main hall. The blind blacksmith to get the upgrading and disassembly of weapons and items taught. He also wants something from you steel. Dismantle some of the weapons found to get the steel. Then leave the fortress and you will get from the orc mage a teleport stone. Talk to the prophet and use the stone in order to teleport directly into Ghortarius' chamber. Ultimately, you still need a Lodestone to get the teleport because it does not work properly.
Repair the teleport:
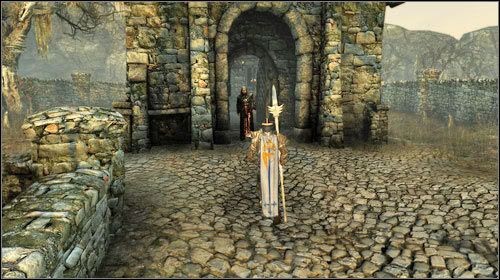
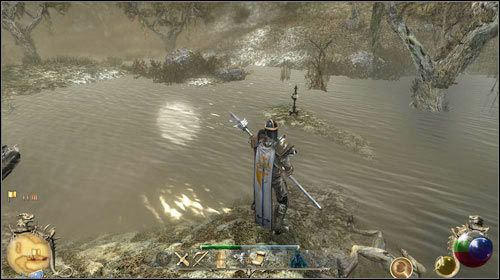
The required Lodestone is located in the northeast of the island. Talk first with Rogdor. He is in his room on the opposite side of the main hall. is like the northeast, a shipwreck and the ore that you explore this. Cross the bridge and follow the path to the right. They come after a while past a ruin and two Groms They attack. Turn it off and search the dead bodies after the Lodestone. Next, follow the road further north and down to the beach, there is the wreck. In a chest you will find the logbook of the captain, but make sure that you are ready for a fight, before you open any chests here. Once you have the logbook, dive on the beach a few skeletons. Have you done that, go back to the Orcs and Ghortarius' chamber? Take the teleport to travel to Savannah to Erimos. Watch out before the time to explore the island and killed some Groms, it's worth it.


 Reply With Quote
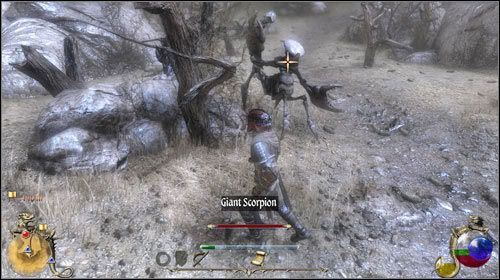


Bookmarks