

If you are stuck at any stage of the Killzone 2 and want to save time then you will have to go through the my walkthrough of the PS3-exclusive first-person shooter with lots of tips and tricks. If you are in killzone 3 no longer know what to do next then look it up in our complete solution. I have created this for you on every level of the first-person shooter. IF you follow this walkthrough then there won’t be any problem completing the entire chapter in Killzone 3. Killzone 3 will be released on 25 February 2011 exclusively for PS3. In the first-person shooter combat it is same as in the previous Killzone 2 Helghast again on the planet Helghan. It slips in Kill Zone 3 again in the role of Sergeant Tomas. In addition to the single player campaign offers first-person shooter and an extensive multiplayer mode. Furthermore, you can also control with Kill Zone 3 PlayStation Move.
Chapter 1 - A new beginning:
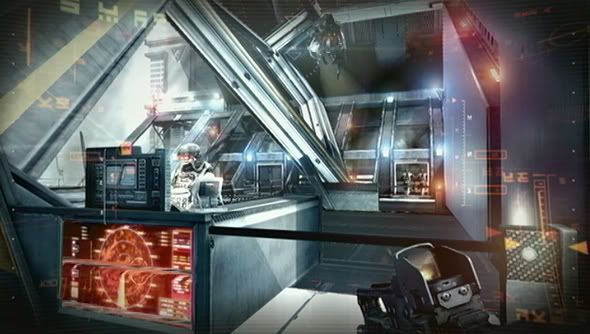
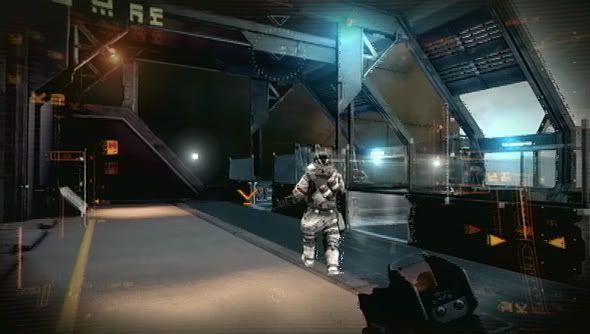
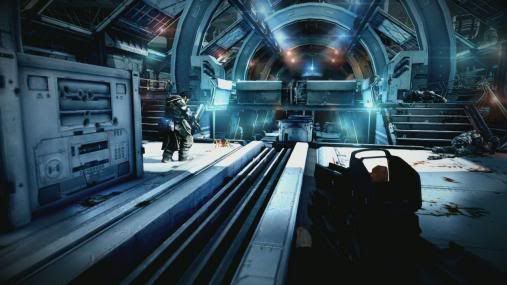
Are you arrived at the Helghast base, then go to the shooting range. Follows for the running before you Helghast. When shooting you will be dealing with the weapons taught. Pay attention when shooting out the pictures of Helghast to not shoot. Just follow the instructions on the screen. Then you have to go to Jorhan steel only where a cutscene waiting for you.
Chapter 2 - evacuation order:
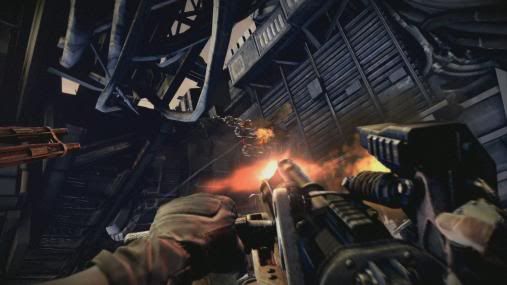
At the beginning Rico follows down the street until you two meet on Helghast, killing one of them with a melee attack. This moves you just directly behind the Helghast and presses R3. After that you shall continue your way until you meet on ISA soldiers. Now you will be attacked by some Helghast, which come on the stairs. Only fight from cover behind them. When all are dead, you shall continue your way. You will now, however, continue Helghast attacked. Fight them with the same approach. You should generally for all the battles much coverage act out. After a cutscene you have to fight your way through a house and you will get a large square on it. Here you have an ISA-tank open a gate. To do this you fight your way to the stairs of the left side of the square on. You moved it from cover to cover. Use the stairs you come to this valve, which can open the door.
Pressed to R1 and L1 simultaneously and turn the controller back and forth. After a cutscene you are allowed to fight again some Helghast. However, you will find this time a securely mounted MG. So you can quickly eliminate the Helghast. When all are dead, you walk to the museum. You should take the MG and remove the entire enemy from Museum to overcome the problem. Battle your way to the roof of the museum and you will be attacked again by enemy who are out of coverage. On the roof (on a door) you will need to place an explosive charge. The explosive charge activated step by step, first press R1 and the controller then moves back and forth. Now you will walk down a street. Especially in the house on the left side you have to be careful because there are many Helghast. Is the best yet the destroyed tank on the left side of the street in front cover.
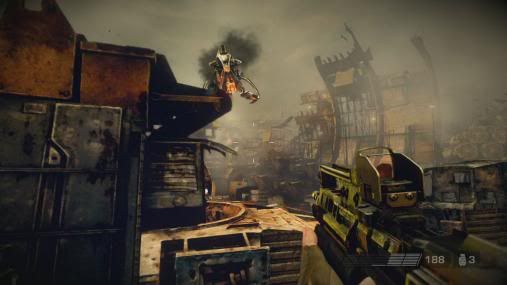
Chapter 3 - Escape from Pyrrhus:
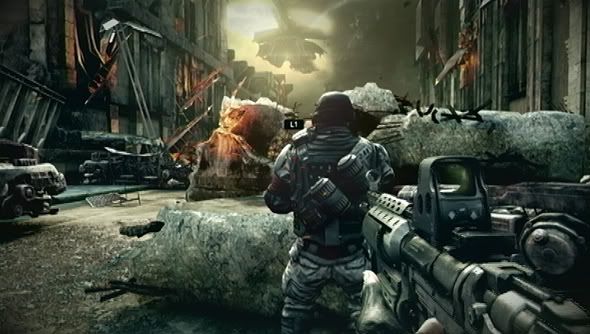
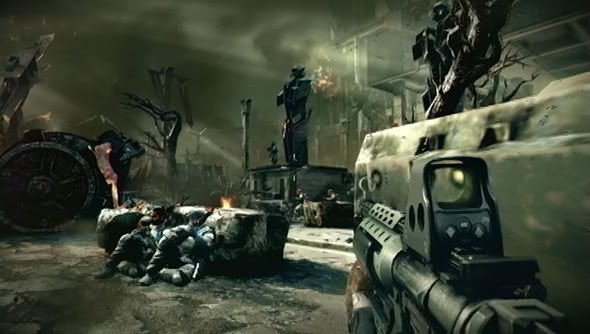
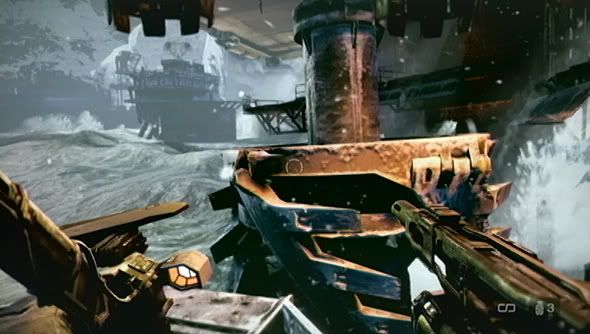
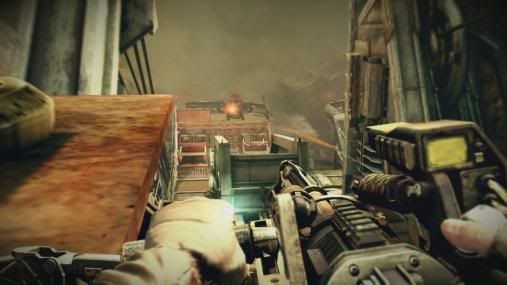
At the beginning of the chapter you're in a tank. In the fight your main target should be enemy tanks and anti-aircraft positions because these are the most dangerous opponents. After the tank ride you have a house and machine gun in position to take. This is located behind the third door broken. As in the Helghast sits a gun, you must immediately go into cover after the destruction of that door. Have you turned off the Helghast, you can take an ISA troops with the MG type coverage. Goes on and defeated the snipers in the house opposite. One can easily recognize them with red laser. Cover yourself so that sniper is not having ability to target you.
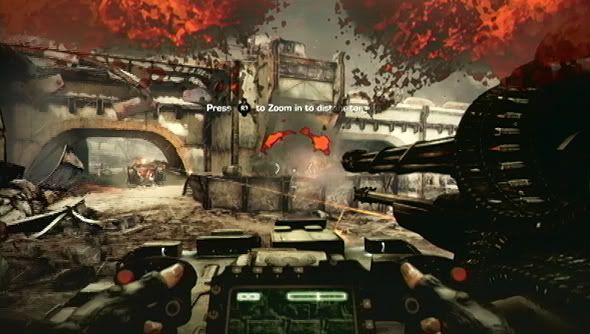
After a sequence should be two-gun positions off you. Used for the sniper rifle. One position is at the bottom and the other is left in front of the house on the right. Now appear on some snipers. To get out of there, you have to respect their radio messages of the ISA. These tell you where you can find the sniper. When everyone is defeated, you can face the troops on the ground care. Sets the sniper rifle for this one too. After a sequence you are allowed the wheel of a EXOS. As with the tanks here, you should first destroy tanks and anti-aircraft guns. In the complex with the two houses you should you also take cover behind the bridge, and proceed cautiously, the tanks are behind the houses there. If you have cleaned the area, it goes further to walk.
Chapter 4 - Six months later:
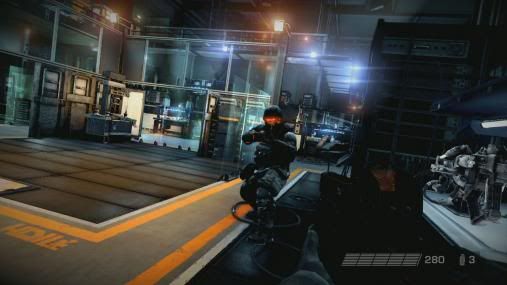
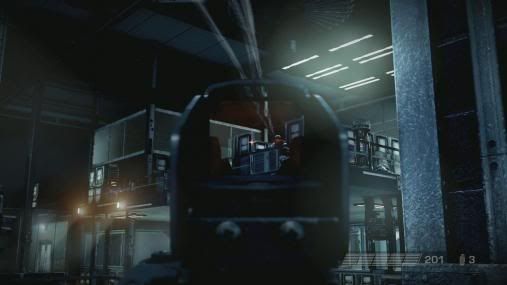
At the beginning of the mission you have to proceed quietly. Followed the instructions exactly that is receives from Kowalski. Then you should not be seen. After a cutscene you have to continue alone. If you shade in high grass or remains behind opponents and finished, you should come to the uplink unseen. If their views can see you and you are not lost, however, only you have to ran after several opponents at once. This must also fight her from behind cover, and you should only worry about the enemy attacking you. Consider also that you do not have to kill enemies of all or you can work around with some.
After your presence at the uplink, it's back on with the usual action. For this purpose you will find the appropriate uplink some weapons. Collects them and makes you on the path to the base. Opponents fought as usual behind cover. You have arrived at the base; you have to defend them to the Helghast. It remains the best pretty on the edge of the base and fight the Helghast from there as long as a cutscene comes up and ends the chapter. The route over which it arrived at the site is suitable for it very well.

 Reply With Quote
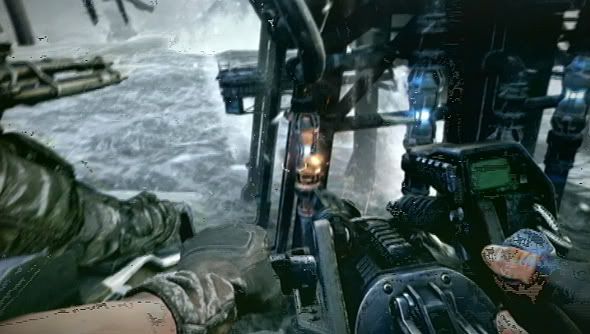

Bookmarks